How To Install Solder Ring Fittings - A Complete Guide
Solder Ring fittings simplify plumbing with pre-installed solder. Learn how to install them with our guide for secure, leak-proof connections.
Last Updated: Sep 2, 2024
Solder Ring fittings are widely used in plumbing for their ease of installation and reliability. These fittings come with a pre-installed ring of solder inside, making the soldering process simpler and faster. This guide will cover everything you need to know about installing Solder Ring fittings, including preparation, the tools you will require, step-by-step instructions, and best practices to ensure a professional finish.
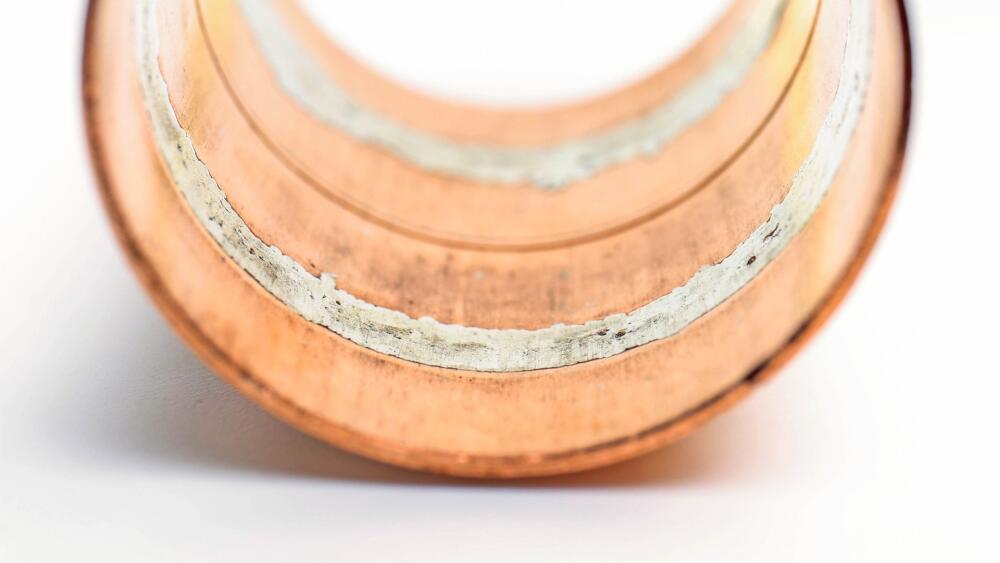
Solder Ring
Discover Flowflex Solder Ring Fittings, designed for quick and easy installation. Lead-free and pre-soldered, they fit perfectly in tight spaces, ensuring secure connections. Available in sizes from 8mm to 54mm, these fittings are WRAS approved and guaranteed for 25 years. Click to explore our high-quality, reliable solutions.
What Are Solder Ring Fittings?
Solder Ring fittings are copper fittings with a ring of solder pre-installed inside. When heated, this solder melts and flows into the joint, creating a secure and leak-proof connection between the fitting and the copper pipe. This design simplifies the installation process, making Solder Ring fittings popular among both professionals and DIY enthusiasts.
Advantages of Solder Ring Fittings
Ease of Use: Solder Ring fittings simplify the soldering process by including the solder within the fitting, eliminating the need to manually apply it during installation.
Time-Saving: The pre-installed solder ring speeds up the installation process, reducing the time needed to make secure joints.
Consistent Results: Solder Ring fittings help ensure a uniform application of solder, which can lead to more consistent and reliable joints compared to traditional End Feed fittings.
How To Install Solder Ring Fittings
Preparing Your Copper Pipe
Proper preparation of the pipes and fittings is essential for creating a strong, leak-free joint. Follow these steps:
Equipment
Tools
- Pipe Cutter
- Deburring Tool
- Hand Protection
Supplies
- Copper Pipe
Installation Steps
Cut Your Pipe To Size
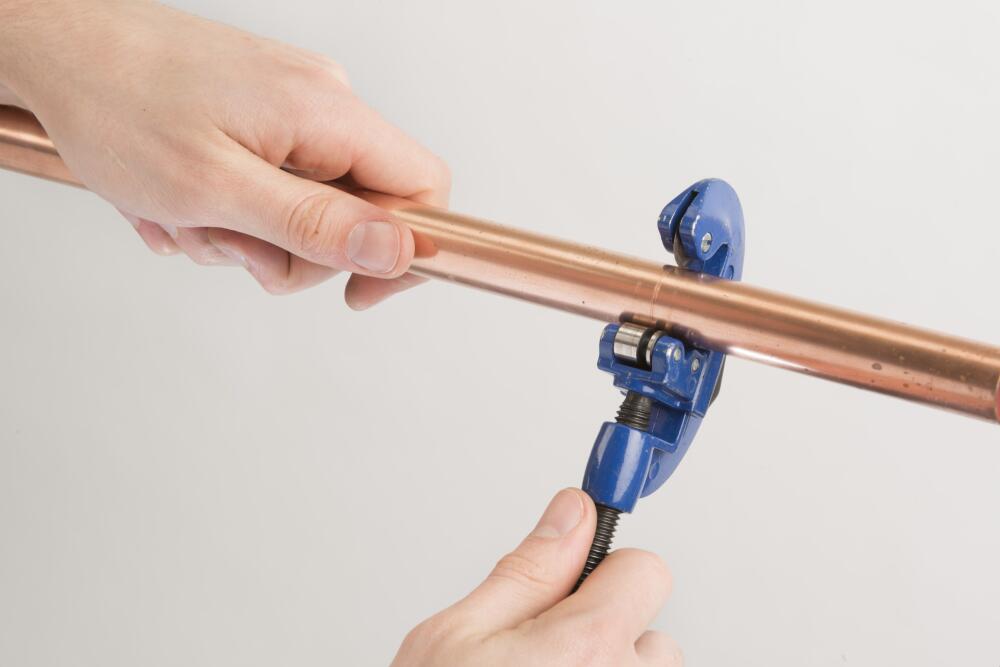
Cut your pipe cleanly across the tube diameter using a good quality pipe cutter or rotary pipe cutter.
Cut Your Pipe Accurately
It is important to ensure that the pipe ends are clean and cut square. Failure to do so could impact on the quality of your jointing. If your cut is not flat, or your pipe is too short, the pipe may not hit the pipe stop compromising the joint integrity. Too long and you may introduce strain into the whole system.
Clean The Socket Of The Pipe
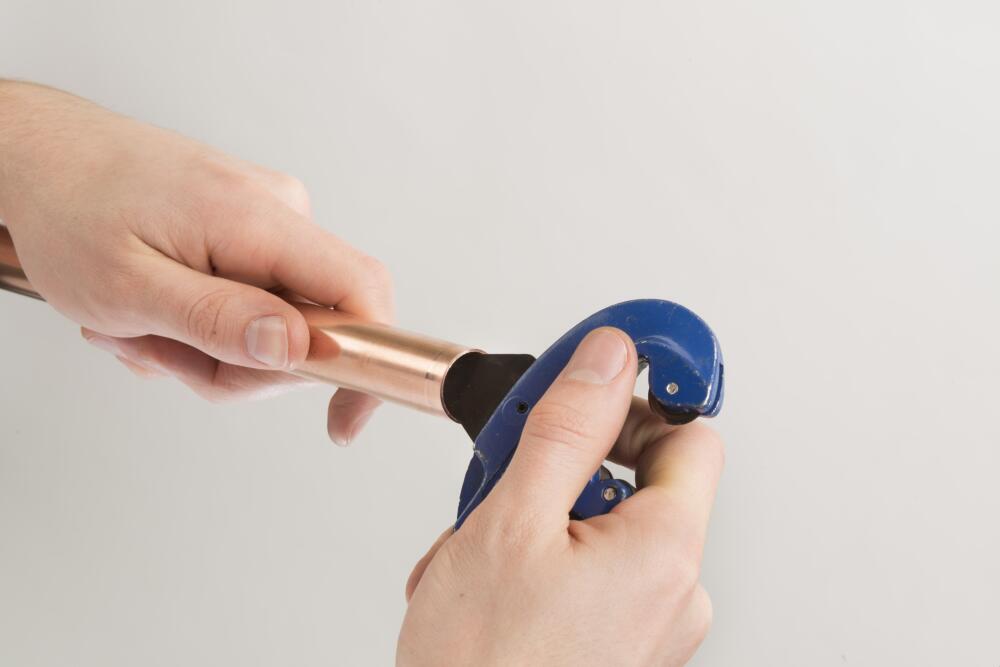
Using your deburring tool, make sure the inside of the pipe is smooth and will not interfere with the flow.
Clean The Outside Of The Pipe
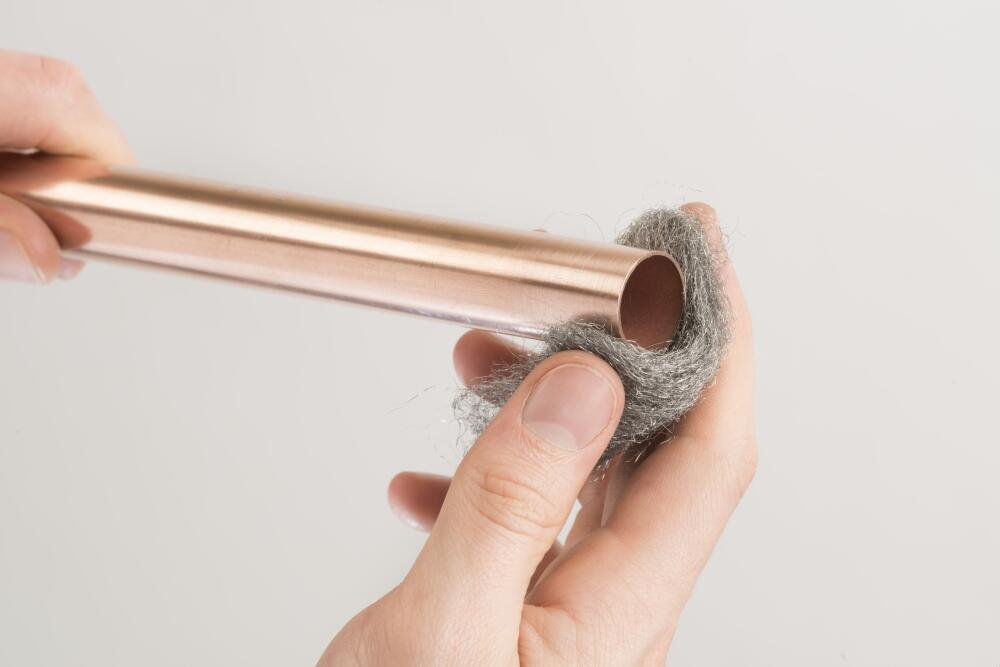
Clean the outside of the pipe, making sure that there is no pipe residue, dirt or grit is present near the joint. Failure to remove all oxides and any material where the fittings and tube overlap can interfere with the capillary action and thus will reduce the strength of the soldered joint, resulting in failure.
To the same effect, over zealous cleaning can result in too much material being removed, resulting in a loose fit and failure.
Installing Solder Ring Fittings Onto Copper Pipe
Once your pipes and fittings are prepared, follow these steps to complete the installation:
Equipment
Tools
- Flame
- Hand & Eye Protection
Supplies
- Flux
- Flowflex Solder Ring Fittings
- Copper Pipe
Installation Steps
Apply Flux
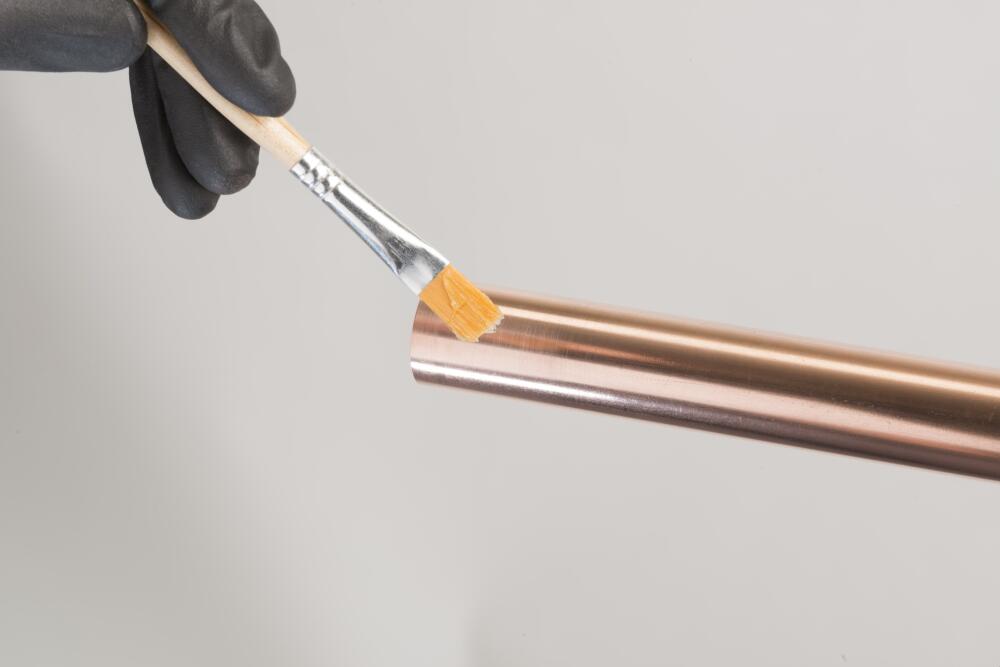
As soon as possible after cleaning, flux should be applied sparingly to the inside of the fitting and also the outside of the pipe at the point of overlap. This will help the capillary action and induce a stronger joint.
Assemble
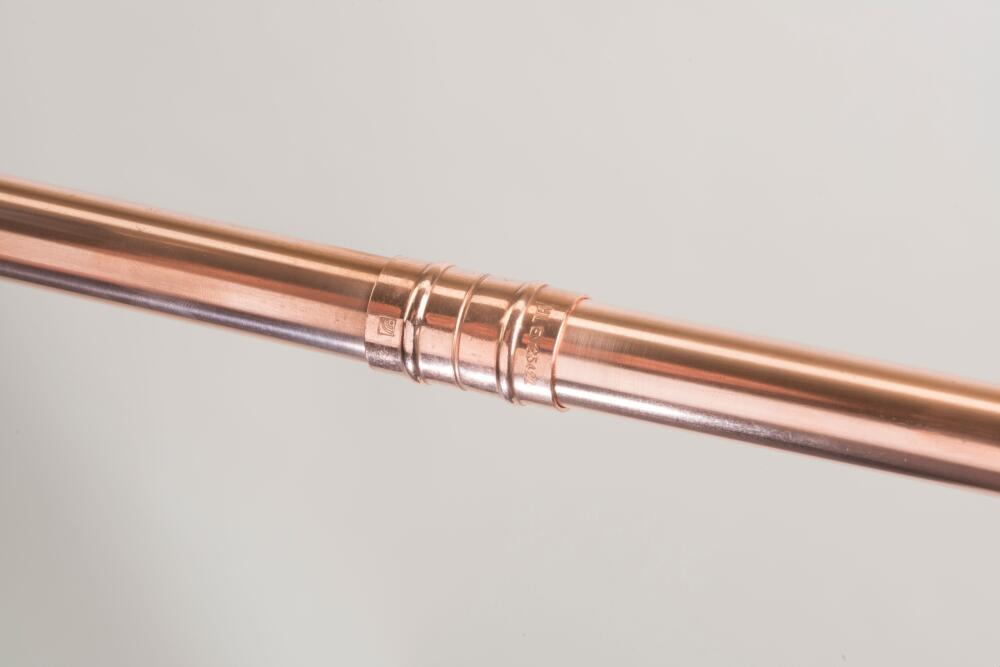
Insert the tube into the fitting until the pipe reaches the base of the pipe stop. A small twist can also be applied to ensure even coverage of the flux. At this point, excess flux should be wiped away using a rag.
Before proceeding to the next step, a uniform space around the circumference of the joint should be sought to allow for good capillary action. Excessive space can lead to cracking of the solder.
Heating
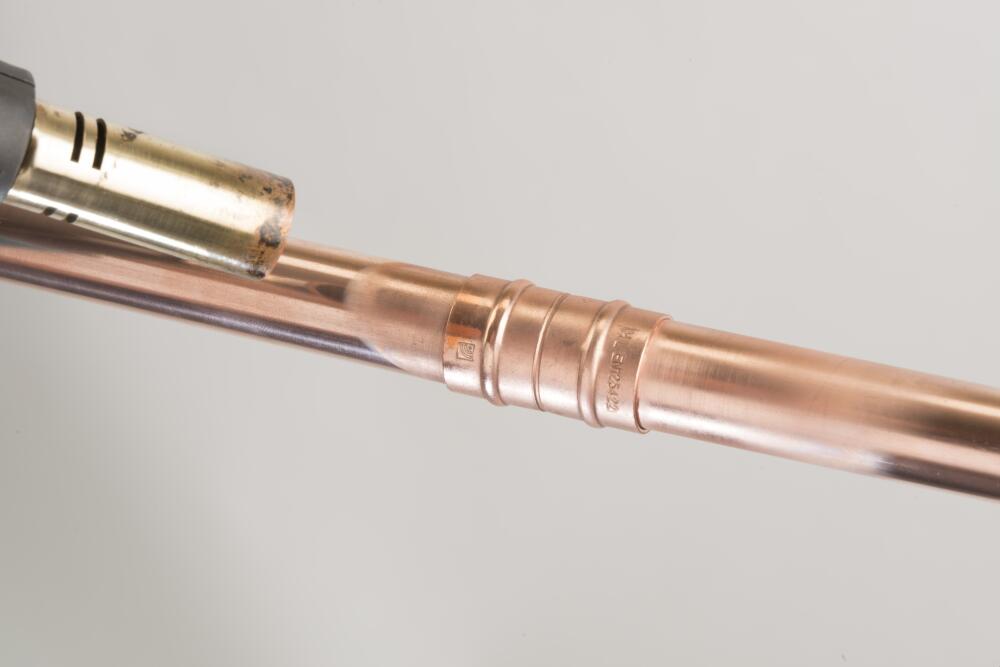
When heating, the entire circumference of the fitting should be heated evenly. It is recommended that you preheat the pipe and the fitting before applying direct heat.
Do Not Overheat the Joint
Do not overheat the joint or direct the flame into the face of the fitting cup. Overheating could burn the flux, which will compromise its effectiveness and the solder will not enter the joint properly.
Cooling And Cleaning

You should allow the joint to cool naturally. Cooling the joint forcefully could stress the joint.
When cool, remove any excess flux and residue with a wet rag.
Installation Best Practices and Tips
Work in a Well-Ventilated Area
Soldering releases fumes, so ensure good ventilation to avoid inhaling potentially harmful gases.Keep Naked Flames Away from Flammable Materials
Always be mindful of your surroundings when using a torch. Keep the flame away from flammable materials, such as insulation, wood, and paper, to prevent accidental fires. Use a heat shield or fire-resistant cloth if necessary to protect nearby surfaces.Use Lead-Free Solder
For potable water systems, always use lead-free solder to ensure safe drinking water.Practice Proper Heating Techniques
Uneven heating can cause the solder to flow improperly, leading to weak joints. Practice moving the torch steadily around the joint for the best results.Inspect the Finished Joint
After cleaning, visually inspect the joint for any gaps, voids, or areas without solder. If in doubt, reheat and reapply solder to ensure a complete seal.
Common Mistakes to Avoid
Overheating the Joint
Applying too much heat can burn the flux and prevent proper solder adhesion.Bad Preparation of the Pipe
Failing to clean the pipe and fitting surfaces thoroughly can result in weak joints that are prone to leaks.Excess Flux Application
Using too much flux can cause internal corrosion and weaken the system over time.Read Now
Flux Induced Pitting: Causes, Risks, and How to Prevent It
Conclusion
Solder Ring fittings provide a quick and efficient way to create secure plumbing connections. By following proper preparation, installation techniques, and best practices, you can ensure a professional-quality joint that will stand the test of time. Whether you’re installing a new system or making repairs, mastering the installation of Solder Ring fittings will enhance your plumbing skills and ensure a reliable result. Explore our full range of Solder Ring fittings and accessories for all your plumbing needs.
Learn More
Solder Ring
Related Articles
Any Questions?
Our team is available for you anytime.